Day 1
Setup
Welcome to Animal Crossing: New Horizons! Upon startup, Timmy and Tommy will greet you and help you set up your island. They will walk you through the following steps:
Creating your character
- This is self explanatory – don’t worry about what your character looks like right now! There will be endless opportunities to change your appearance (including eye color, hair color, hair style, skin color, and clothing) later in the game.
You cannot rename your character, so be sure it’s something you like!
Choosing an island layout
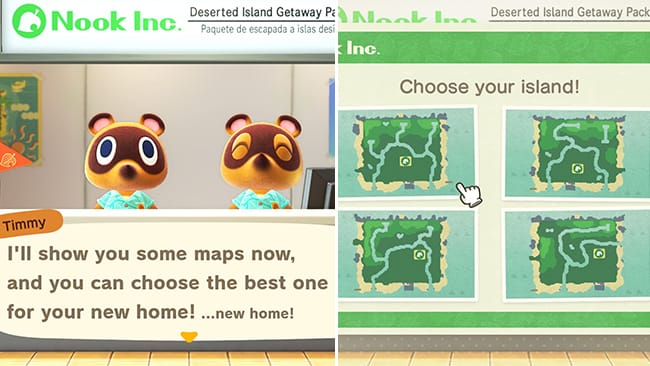
- There will be 4 to pick from.
If you do not like any of these options, feel free to quit the game and restart it! 4 new options will appear. You can continue to do this until you find a layout you are happy with.
- This step is important as it determines a couple of permanent (unchangeable) fixtures on your island: Resident Services (leaf icon), estuaries, the airport, and your “secret” (Northern) beach.
Choosing your hemisphere
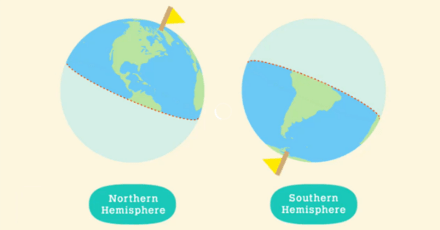
- Your hemisphere is the half of the Earth you live on in relation to the equator. The equator is an imaginary line that splits the earth in half. The top half (above the equator) is called the “Northern Hemisphere” and the bottom half (below the equator) is called the “Southern Hemisphere”
- If you don’t know your hemisphere, search it up on Google! Here are some examples:
- Southern Hemisphere: Australia, New Zealand, Chile, most of Indonesia, etc.
- Northern hemisphere: Canada, the United States, all of Europe, Japan, India, etc.
- Is one hemisphere better than the other?
- Both hemispheres receive the same events, items, and characters, just during different seasons. We recommend choosing the hemisphere you live in but it is up to you!
Hemisphere Season Correlation:
| Months | Northern | Southern |
|---|---|---|
| March - May | Spring | Autumn |
| June - August | Summer | Winter |
| September - November | Autumn | Spring |
| December - February | Winter | Summer |
“If You Could Only Bring ONE Thing With You…”
- Does this question mean anything?
- Nope! This is an homage to past games when questions like these determined things like your character’s eye shape or hair color. In New Horizons, it’s just for fun. :)
Arriving at your island
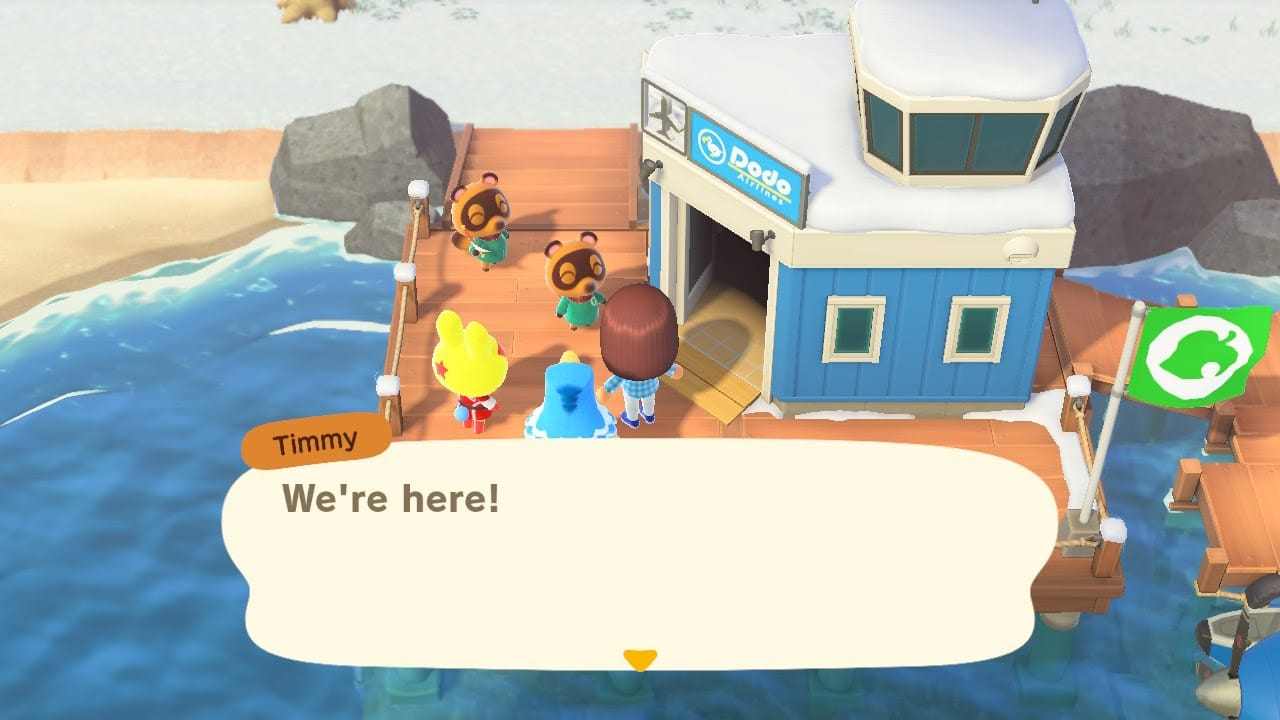
After you have set up most the steps above with Timmy and Tommy you are now sent on the plane to your island! See below for the next steps:
Meet the new characters
- Tom Nook
 (and Timmy
  and Tommy
  , who you’ve already become acquainted with)
 - 2 Villagers
- You will meet your first residents (villagers) on the island. These can be different for everyone! One of them will be a “jock” villager. Another will be a “sisterly/uchi” villager. For an explanation of villager personalities, read here.
- If you’d like, you may reset your island until you find your ideal pair, but this is not necessary as villagers are not permanent residents and will change.
Set up your tent
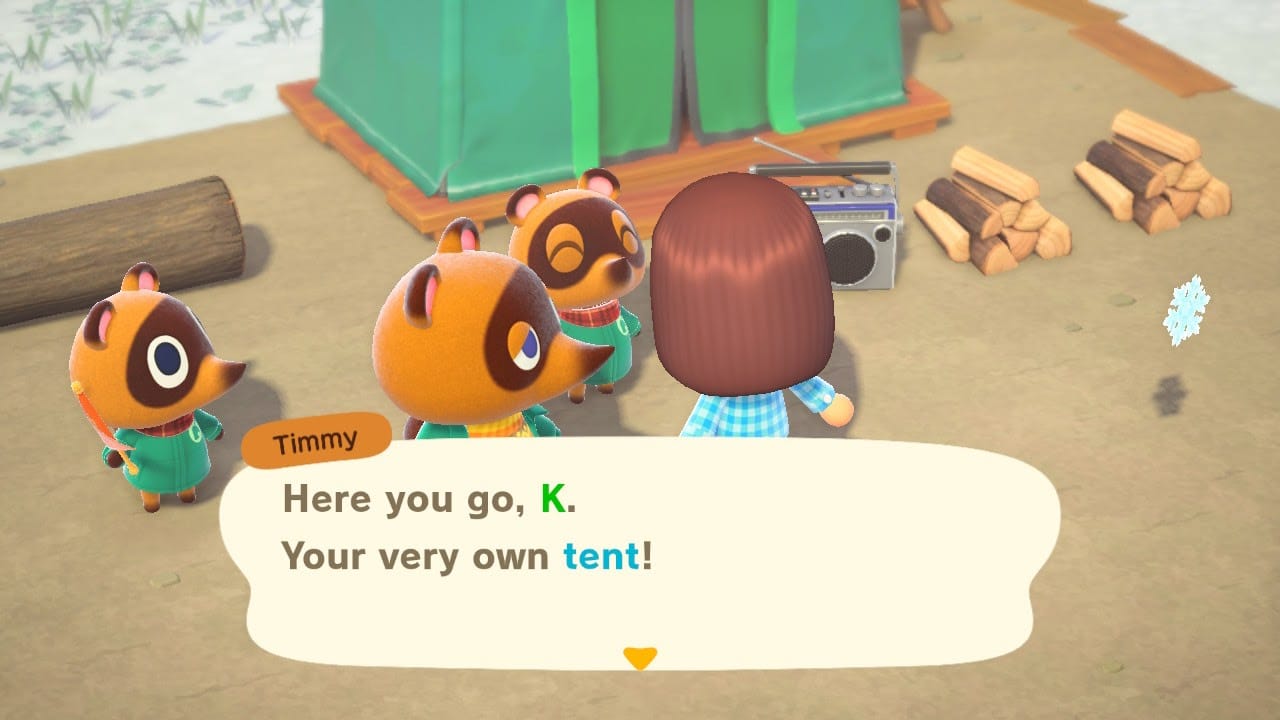
- Talk to Tom Nook (walk up to him and press ) and he will tell you to place your tent. Talk to Timmy or Tommy, who will give you a kit to set up somewhere on the island! Choose wisely, as you won’t be able to relocate your house for some time.
- To place your tent, press to open your pocket inventory, click on the tent kit, and click “Place”.
- Note: Since you are not yet able to cross rivers, you can only place the tent in the piece of land connected to your Residents Services.
Help your villagers set up their tents
- After placing your tent, go talk to your villagers. They will ask you for help in placing their tent. You have 2 options upon talking to them: 1. “looks good there,” or 2. “I’ll choose a place for you.”
- Option 1: Places your villager’s tent where they are standing.
- Option 2: The villager will give you their tent kit to place where you would like. (They will like it no matter what.)
Collect materials
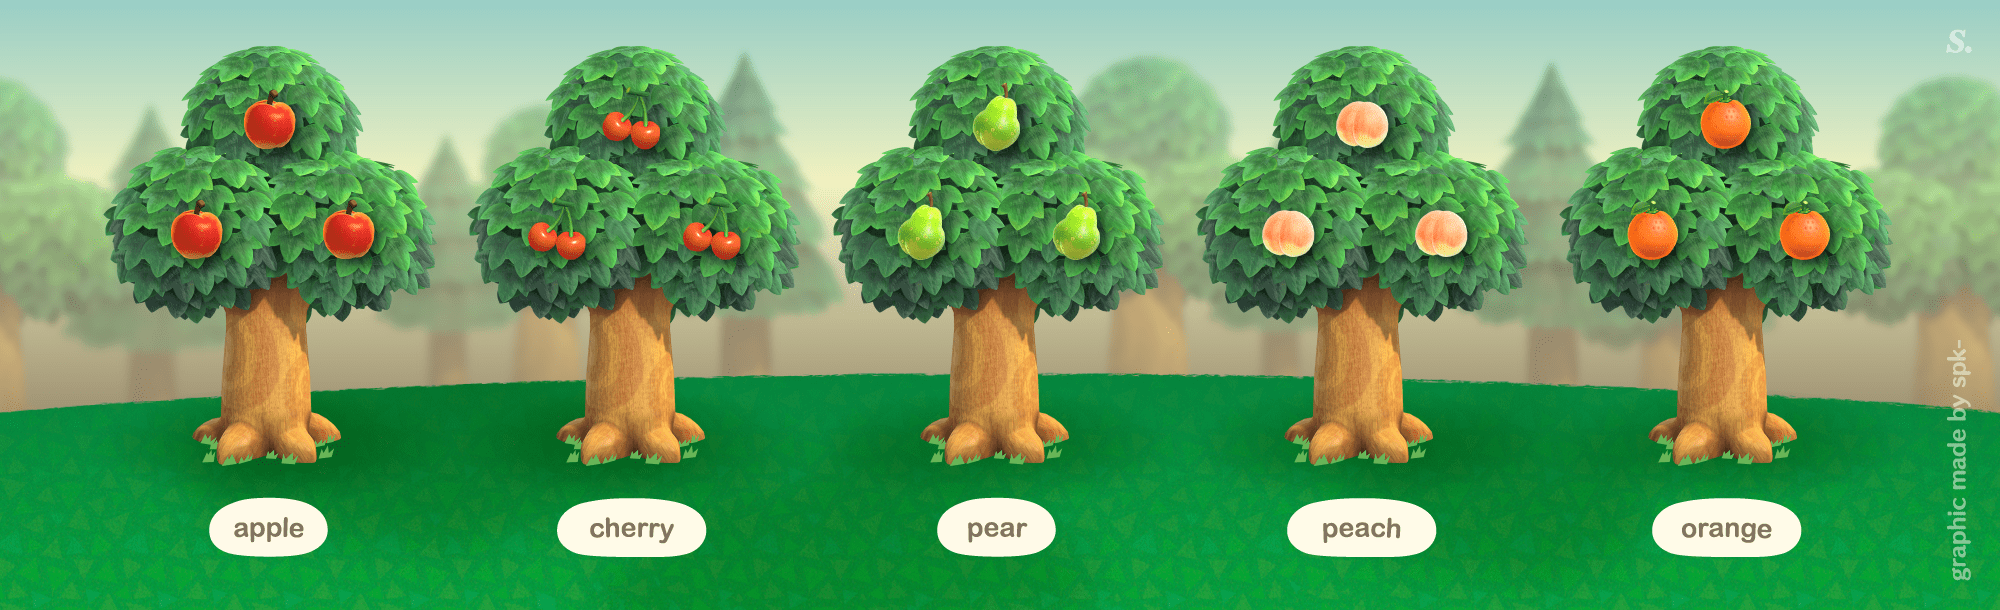
- After all 3 tents are placed, Tom nook will give you some tasks to learn how to gather materials. You will need to collect 10
 tree branches and some fruit!
 - Press while facing a tree to shake it. If there is fruit on the tree, then the fruit will fall down. If there isn’t, then branches, wasps (and their nests), or coins have a chance of falling out of the tree. Press to pick up things on the ground.
Party time + naming your island
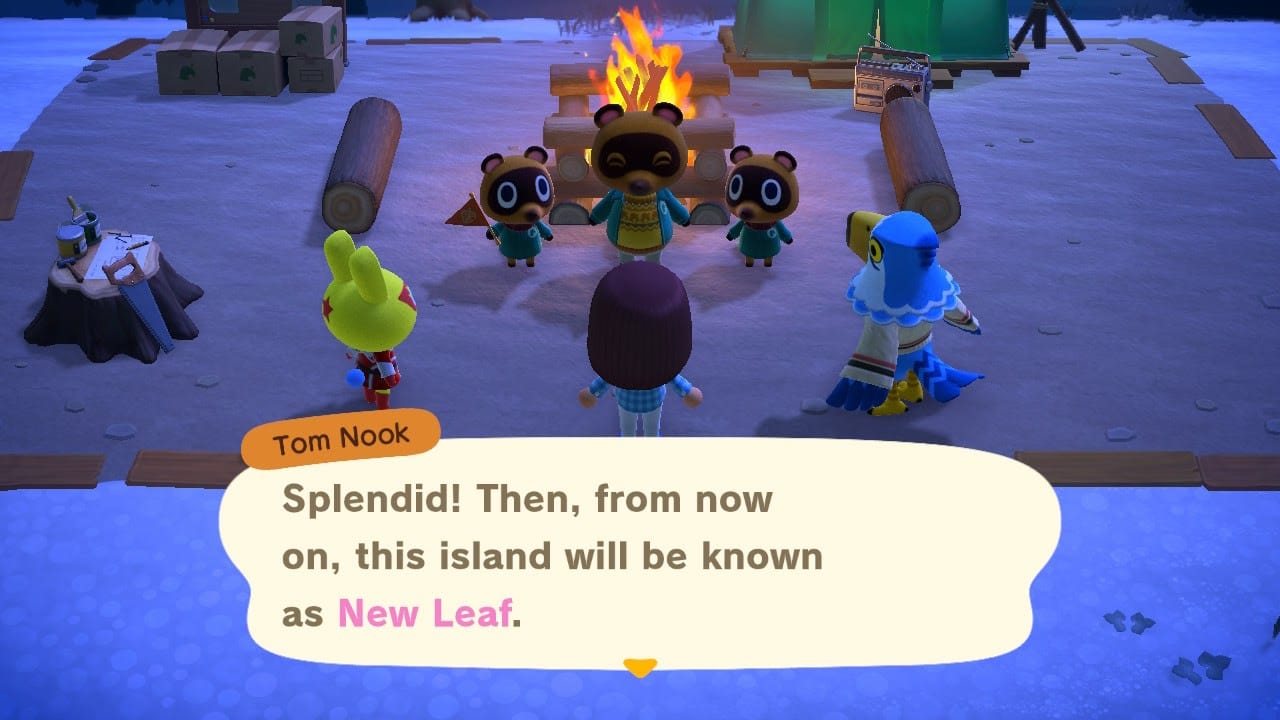
- After completing the objectives, Tom Nook will hold a party in the plaza. When you are finished celebrating, head to your tent and lay down in your cot to sleep. A special character will visit your dreams to offer some words of wisdom :)
- This is the point in the game you get to name your island.
You cannot rename your island, so be sure it’s something you like!
Syncing to real-time
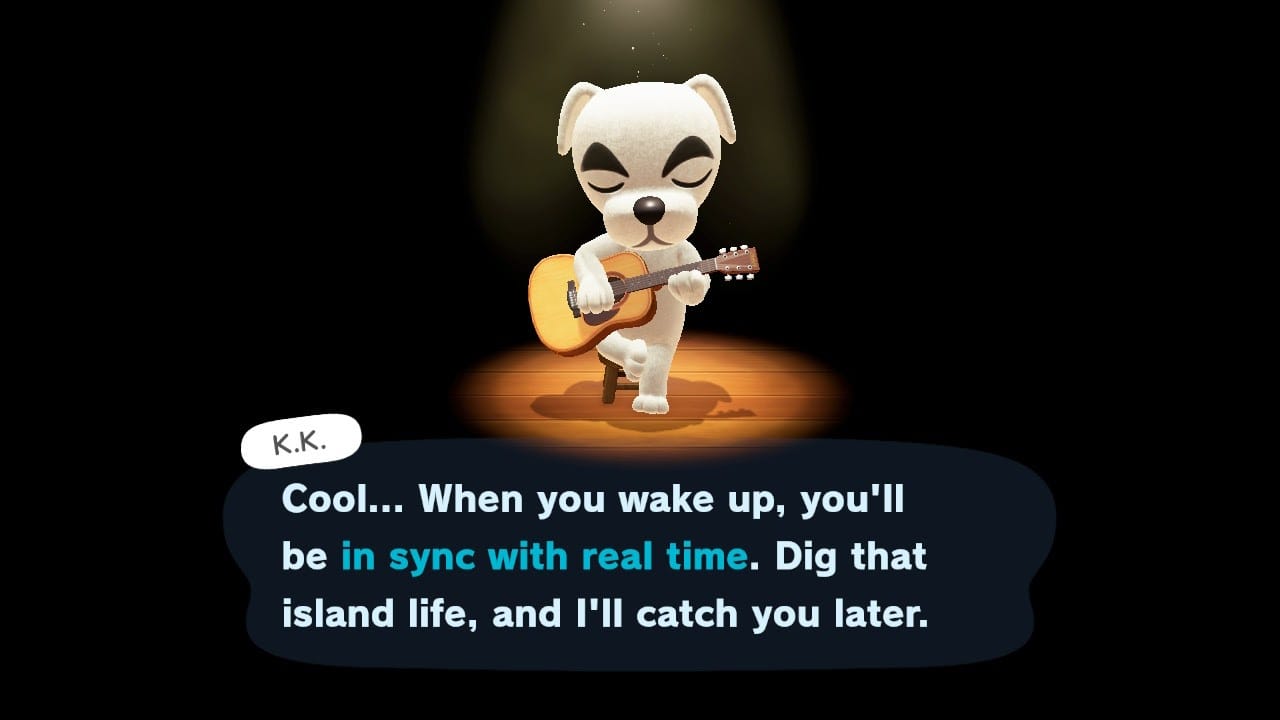
- After you fall asleep, the game syncs to real time (your timezone), so make sure you have set the correct Switch settings.
Homemenu >System Settings(gear icon at the bottom of your screen) >System>Date and Time
- Upon waking up, Tom Nook will be at your tent waiting for you. He will then hand you your very own NookPhone! To open your NookPhone, press . Additionally, he will mention your itemized bill. This is your very first loan (of many) that you will pay to upgrade your house.
- The very first loan is paid off in Nook Miles, but every loan after that will be paid back in bells.
DIYs, buying from Timmy, tools and more!
- When you are ready, head to the Resident Services tent, where Tom Nook will inform you of a couple things.
- You can always talk to him to guide you in what to do next.
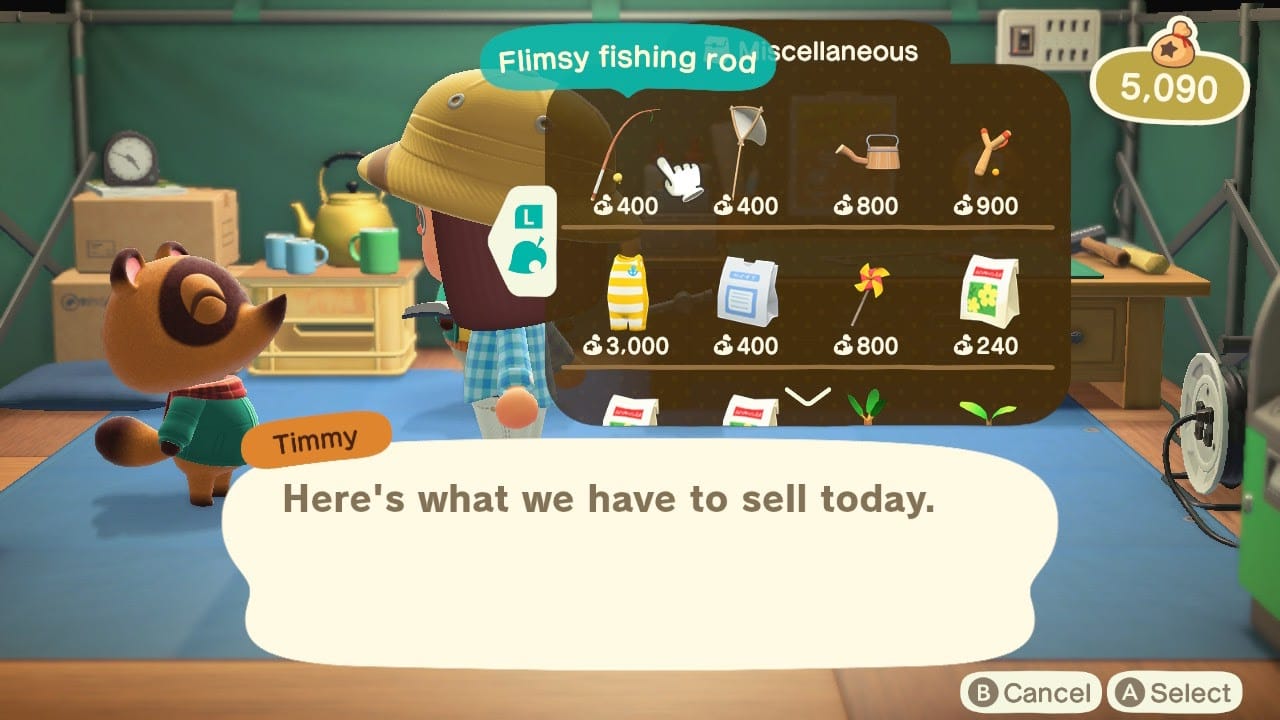
- You can purchase/sell things by talking to Timmy in Resident Services.
- Tom Nook offers a free DIY workshop where your character learns how to craft.
- Talking to Timmy will allow you to purchase things like small furniture items, flimsy tools, plants (flower seeds and tree saplings), medicine, and more.
- Press and to toggle between the two pages of items.
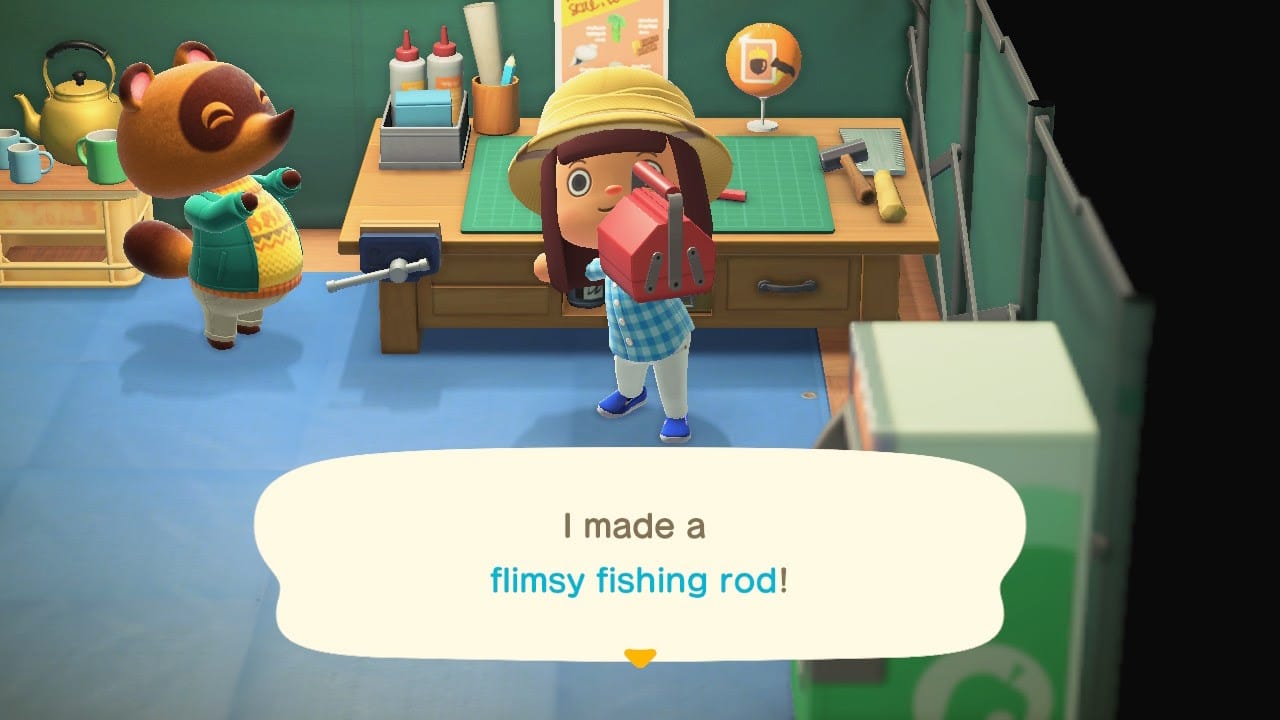
- Completing the DIY workshop allows you to learn
 DIY cards and obtain the DIY Recipes app on your NookPhone. Additionally, you learn the Flimsy Fishing Rod, Flimsy Bug Net, and Campfire DIYs. We recommend you craft both new tools for the next quest.
Unique critter collection
- After completing Tom Nook’s DIY workshop, he will mention having an interest in the island’s natural critters. You’ll want to bring him 5 unique (different) bugs and/or fish to complete this quest.
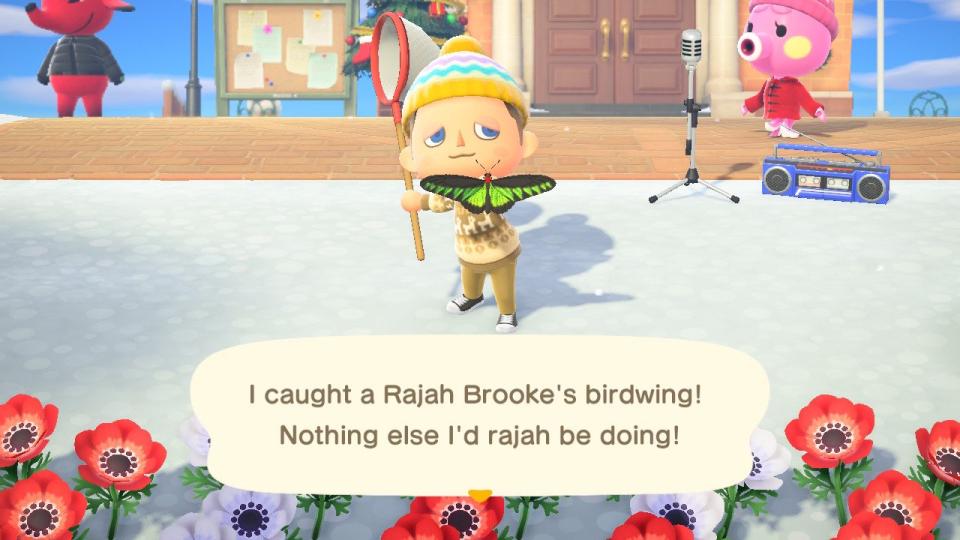
- If you find a bug hopping/crawling around on the ground or flying in the sky, use your net.
- To use your net hold it (open your pockets, select the net and select
Equip/Hold). Hold down to slowly walk towards a bug (this is useful for bugs that fly/crawl away when they notice you). When you are 1 or 2 paces away or close enough let go of the button to swing your net! You can also just walk up to some bugs and press without sneaking up on them. - TIP: Organize your inventory so your tools are easy to find and access! There are many more to come.
- To use your net hold it (open your pockets, select the net and select
- You can also give Tom Nook fish!
- See a fish shadow in the water? Grab your fishing rod! When on the edge of the water, press to cast your line. The fish will nibble at your lure 0-5 times, which will emit a weak vibration and soft splashing noises. When you feel a stronger vibration, hear a louder, snappier splash (a “ker-plunk” noise), and see the lure sink beneath the water’s surface, press again to reel in your fish. Be fast! Some fish require a quick reaction time to reel in, otherwise they will swim away.
- Make sure you cast your line where the fish can see it, otherwise they will not notice your lure. You can cast and recast your line, just make sure you don’t reel it in after they notice it or they will get scared off.
Note: Vibration not applicable on Switch Lite.
New DIY’s and Blathers
- After you give 2 critters to Tom Nook, he will reward you with the Flimsy Axe DIY recipe. This can be used to harvest wood from trees.
Branches are different from  wood and come from shaking trees, not axing them.
-
After you’ve given a total of 4 critters to Tom Nook, he will reward you with the Flimsy Watering Can DIY recipe. This can be used to water your flowers and help with flower breeding.
-
Once you’ve caught 5 critters and given them to Tom Nook, he will get a call from Blathers
 . Blathers is the future owner and curator of your island’s very own museum!
 -
Tom Nook will hand you a museum tent kit to place, which is where Blathers will set up his tent. You will not be able to change the museum’s location for some time, so place wisely!
Pay off your Nook Miles loan
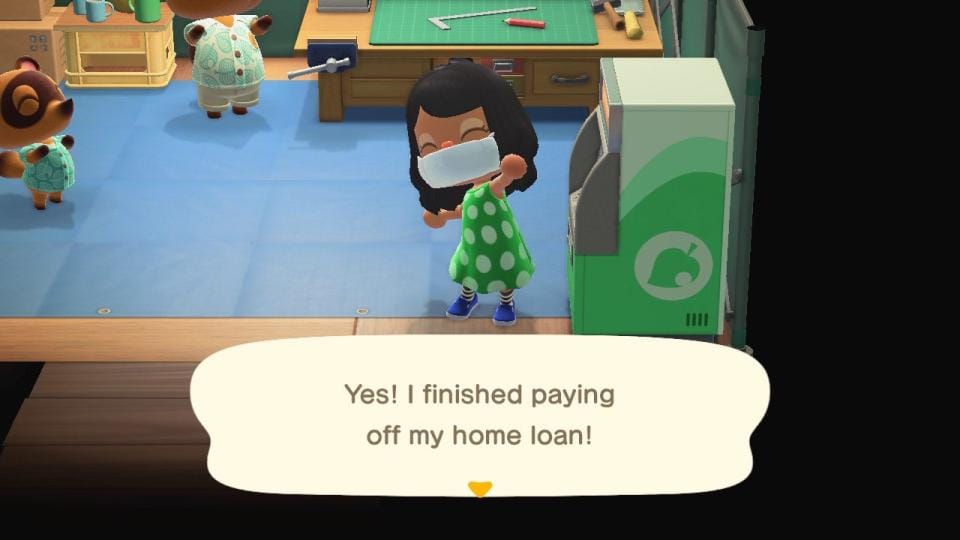
- Now that you’ve had some time to settle into the island, it is recommended you pay off your first loan. You have probably accumulated enough miles without knowing, but check your NookPhone for achievements you can complete if you don’t have quite enough.
- This will upgrade your tent to a house the following day.
- After paying off your loan, Tom Nook will introduce you to the miles redemption service in the Nook Stop. By accessing this, you can trade in your accumulated miles for interesting and helpful items.
- The Nook Stop is the ATM-looking machine in the lower right corner of the Resident Services tent.
- Make sure you speak to Tom Nook afterwards and accept his offer to build you a house as well.
What else can I do today?
- You can catch critters and gather materials to sell to Timmy to make some bells.
- For 2 upcoming quests, it may be a good idea to save the following items:
- New critters
- All types of wood
- Iron nuggets
- You can speak with your villagers, they may gift you things when you talk to them!
- Explore your island! Get yourself familiar with it’s layout.